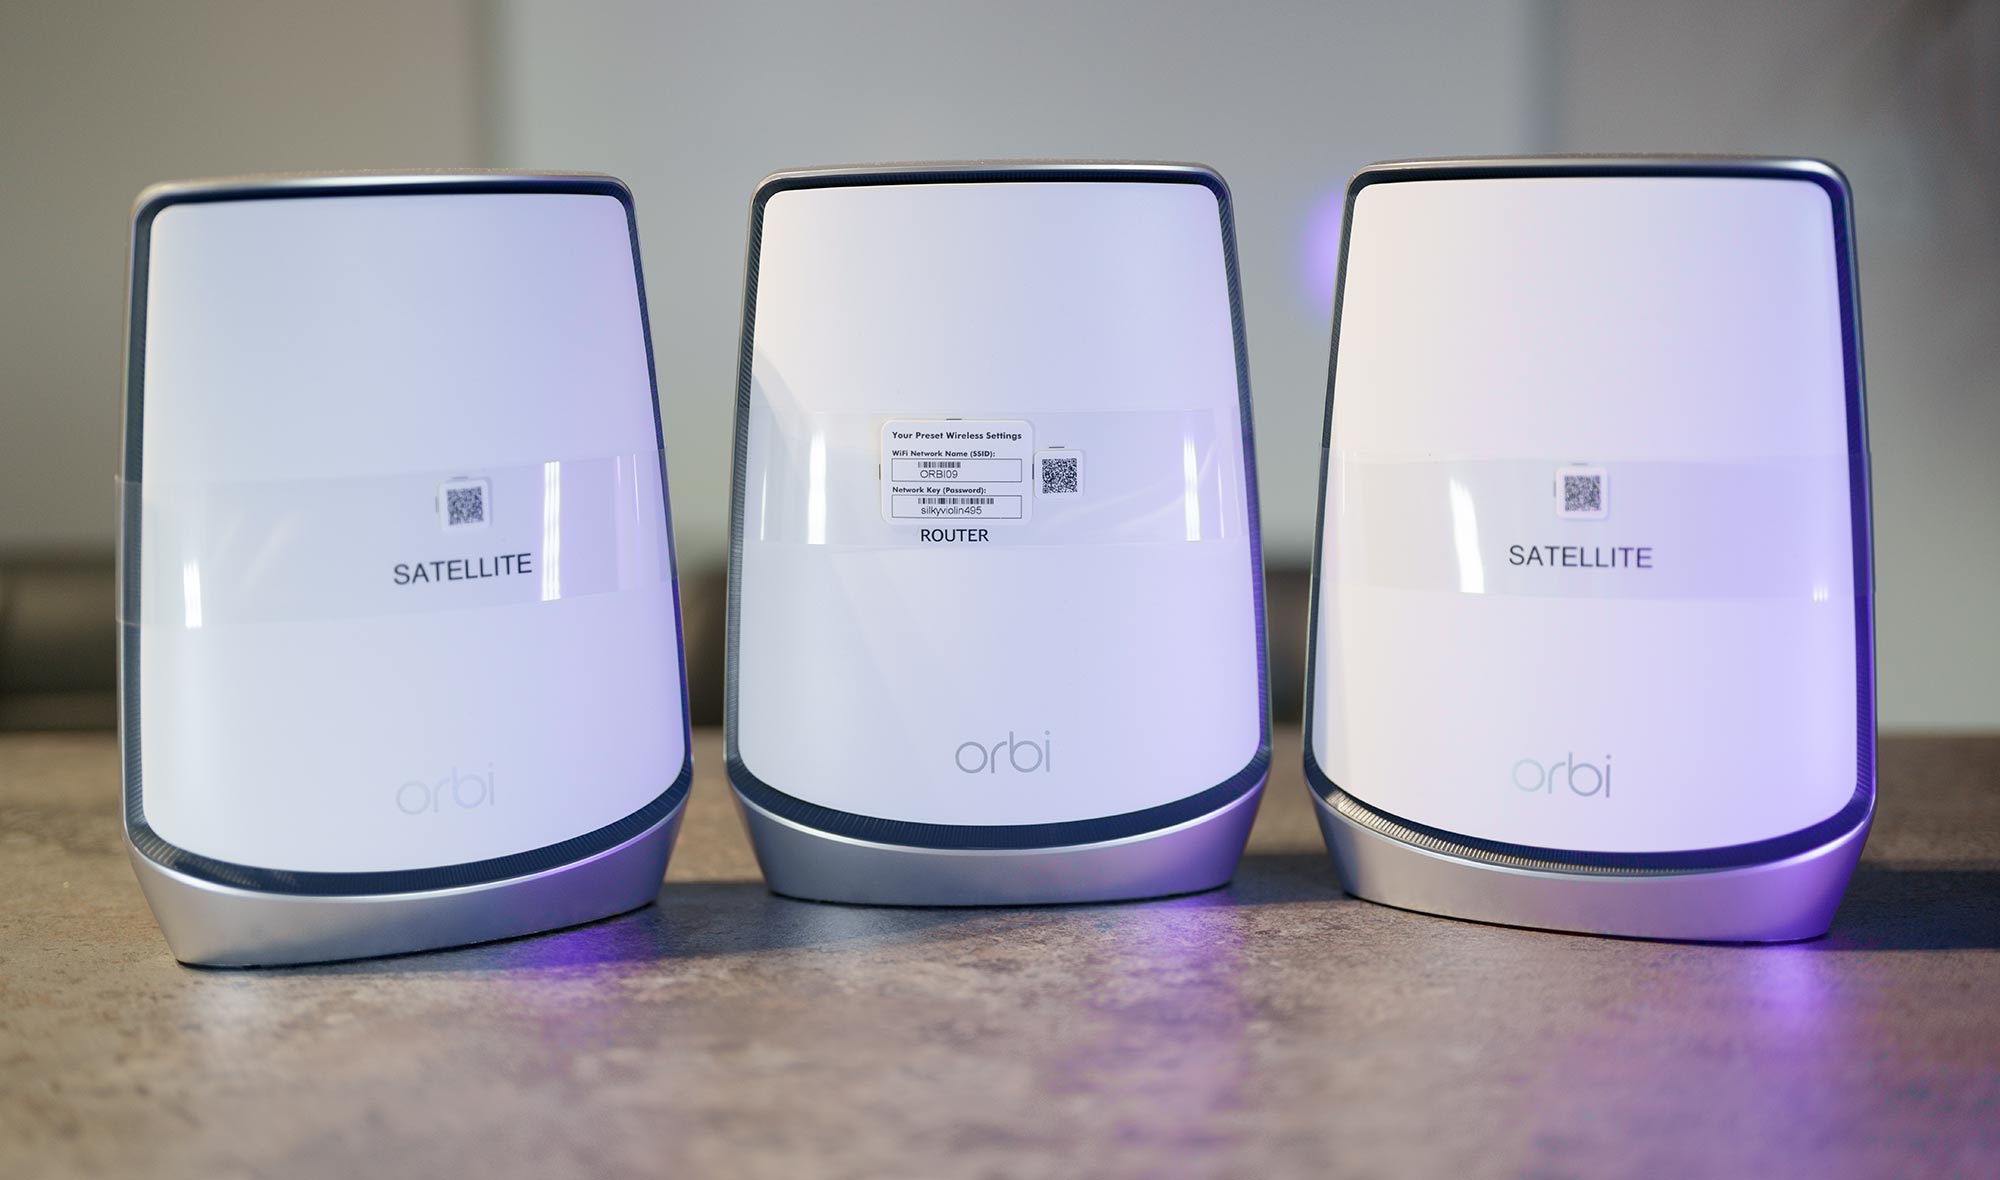
Installing an Orbi mesh WiFi system in the house is one of the finest ways to hunt dead zones. The reason being, it consists of a router and one or more satellites that transmit WiFi signals in the hard-to-wire areas of the house. But, do you know how to install an Orbi mesh WiFi system? Well, you’ve reached the right post.
Although there are two ways to install an Orbi mesh system i.e. via the orbilogin.net URL or using the mobile app especially programmed for Orbi, we will try to make you familiar with the easiest one i.e. via the app. After all, everyone has got a mobile phone and can easily carry out the process with its help.
Now, without any delay, jump to the next section and learn the step-by-step instructions to install an Orbi mesh WiFi system. Before all that, we would like you to unbox the mesh system and ensure that all the accessories and the router plus satellite units have arrived in non-damaged condition.
How to Install Orbi Mesh WiFi System?
Here are the instructions that you must stick to in order to make your mesh system up and running via the mobile application named Orbi:
Step#1: Download the Orbi App
·
Go to the Google Play Store or
Apple App Store.
·
Download the Orbi app after
searching for it.
·
Wait for the app to install.
·
You can also download the mobile
app by visiting Orbi’s official site.
· As soon as the app is installed, you must launch it.
Step#2: Create Your Netgear Account
·
If you are launching the app for
the first time, a prompt to create a Netgear account will appear.
·
FYI, the Netgear account
facilitates you to register your products and receive the latest updates on the
registered email.
·
The account can be created using
an email ID and password.
· Using the Netgear account details, log in to the one you’ve just created.
Step#3: Select the Product
·
After logging in, select the Get
Started option.
·
Tap Enable Camera and Scan.
·
Scan the QR code on your Orbi
router and tap the Continue button.
·
You will now be asked to select
the product model as well as the number of satellites.
· Tap Continue.
Step#4: Restart Modem and Create Connections
·
The app will now ask you to
restart the host modem.
·
So, locate your modem and power
it down. Tap Continue after that.
·
Unplug it and follow the
instructions until you plug in your modem and the light on it stabilizes.
·
Now, the Yellow Internet port of
the Orbi router must be connected to the Ethernet port of the modem.
· The previous step can be completed with the help of the included Ethernet cable.
Step#5: Power Up the Orbi Router
·
You are now supposed to plug your
router into an electrical outlet.
·
Make sure that you use the power
adapter that you received with the router.
·
Now, wait for your router to
start up.
·
It can be identified with the Orbi blinking white situation. The LED
will settle down after a few minutes.
· After that, connect your satellites to power sockets in the same room where you’ve placed your WiFi router.
Step#6: Personalize Network Settings
·
Now, return to the Netgear Orbi
application.
·
Tap Continue.
·
A progress bar displaying the
status of the setup process will be displayed.
·
Make your device access Orbi’s
network.
·
You will be taken to the
Personalize Your Settings page.
·
Tapping the Next option will take
you to Create WiFi network page.
·
Choose the WiFi network name and
password for your Orbi.
· Tap Next
Step#7: Assign Admin Password to the Router
·
Now, you will get redirected to
the Set Up Admin Login window.
·
Here, assign an admin password to
the Orbi router i.e. an Orbilogin password.
·
It is the password that you will
use to manage your Orbi network settings.
·
Select Next.
·
The next window will ask you to
select and answer a few security questions.
· Its purpose is to enable password recovery in case you forget it.
Step#8: Check for Firmware Updates
·
This step will come into effect
if your router supports automatic firmware updates.
·
Your mobile is now supposed to be
accessing the newly created Orbi network.
·
Tapping the Next option after
answering security questions will make your router detect a new firmware
version.
·
If a new firmware is found, tap
Update and wait.
·
Select Next again.
· Lastly, place your satellites in their permanent locations [ not too far from the router].
Final Words
That’s all about how to install Orbi mesh WiFi system. We hope
that after following the information given above, you will get success while
installing the Orbi system. However, after that, you should often reboot the
router to keep technical glitches away.


