
Synology NAS device is a very impressive device that helps users to manage their data like photos and videos. You just have to assemble it in your house, connect it to the home WiFi router, and link computer to upload the data. Here, we will add all the informative sections which teach you how to setup Synology NAS device in home.
Assemble NAS Device
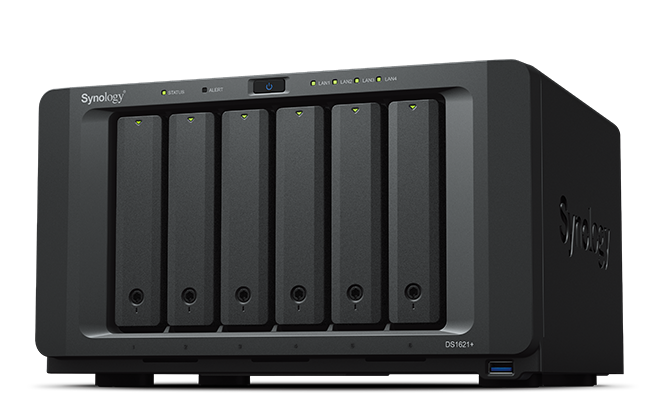
You have to insert all
drives to NAS drive trays, memory chips to the storage, and connect it to the
power. Let’s see how to do it;
1.
Place all
the parts of the Synology NAS device from the content package near to your WiFi
router.
2.
Insert the
Drives in to the trays and connect them in to the NAS and lock them with the
help of the Drive tray key.
3.
Now, if
you want to add more memory then add it in to the device RAM slot, and connect
all the parts.
After that, you have
to connect the NAS device to the home router, just follow on some instructions
below to connect it with WiFi;
Connect WiFi Router to NAS
You have to use the
Ethernet cable to make a connection between the Synology NAS and WiFi router;
1.
Connect
one end of the cable to the NAS Ethernet port.
2.
Connect
other end of the cable to the WiFi router LAN port.
3.
Then you
have to turn the device on by connecting the power cord to the power outlet.
Now, it is time to
link the computer to the Find Synology cloud using these below written
instructions;
Connect Computer to Find Synology
To link your computer
or laptop to the Synology cloud, you have to use find.synology.com login interface;
1. Connect your computer to the same router which is connected to the
Synology NAS.
2. After that, go in to the updated web browser and type the
find.synology.com in the address box.
3. To start the search press the Enter button, you will get to the find
Synology page, here just select the device model you have.
4. Then, find and click on Connect button to finish the Synology setup.
From this interface page, you can also
initiate the DSM download and Synology Assistant download. Now,
have a look at some troubleshooting tips, which you can use to dispel any
error.
Tips and Solutions to Errors
There two major and
most used troubleshooting tips, which you can use to make the Synology setup
error free;
Restart
There are two methods
to the restart the Synology Device, have a look at them one by one:
1.
Unplug the
connected power adapter to the power socket and plug it again to turn it on.
2.
Find the
power button and press it twice and restart the NAS device.
You should also reboot
the WiFi by refreshing its network, by turning it off and turning it on.
Check Connected Cables
You should make sure that the Ethernet
cable or power cord is in good conditions, if it is not then replace and
connect other one.
Reset
You will see the RESET button on the device
at the side of the ports, it is a pinhole button. Have a look how to reset the
Synology NAS;
1. Find the Reset button, press it for 10 seconds.
2. You have to use a sharp object like pin or pen to press the button.
3.
After resetting the device you
have to re-connect your computer to the NAS.
The End Words
Here, you have seen and learned about how to assemble your Synology NAS and connect it to your home WiFi and computer. We have also added some of the troubleshooting tips and solutions to make the setup error free.


