
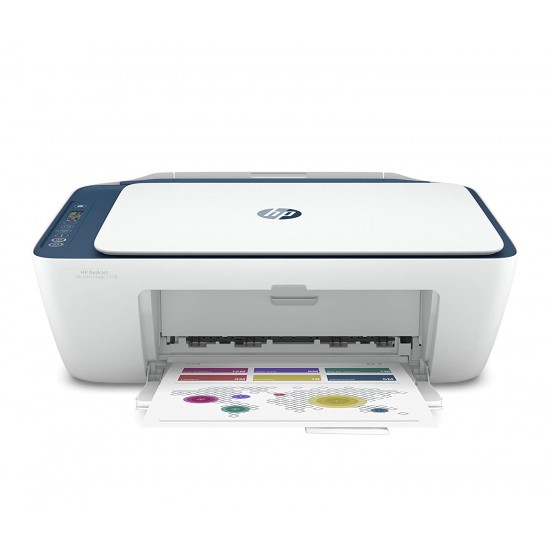
Printers are used to convert soft copy into hard copy. These hard copy can be coloured and black and white, it depends upon your ink cartridge and your HP model, that it supports coloured or not.
HP printer setup is lengthy but simple; if you go through step by step you can
setup the printer by your own. Printer setup can be done by two ways; one is
USB printer set and the other one is WiFi printers setup.
Here are steps for you to follow for setting up the printer.
1. First of all, unbox the printer
safely as it carries delicate stuff in it. In a box you will get printer, power
cables, ink cartridges, and a user manual.
2. Now, you have to plug the
printer’s power switch into a functional wall socket and press the power button
to turn on the printer.
3. After that you have to open the
HP printer ink cartridge access door by pulling it out. There you can insert
the ink cartridges. Then close the access door after inserting the cartridges.
4. You have to pull out the paper
tray and adjust the paper width guides to fit your paper. Then load the tray
with the paper and adjust the guides so the paper is secure. Mostly, the paper
size should be plain white A4 or letter-sized for most setups.
5. There are two ways to install printer software, one is by using a CD (which comes with a printer) and the second one is by downloading the software from the HP website.
Printer Setup Using CD
Insert the CD in your computer disc drive that came with the printer.
Then follow the on-screen instructions to install the printer driver.
Go to the HP website and it will navigate you to the ‘Drivers’ section.
Then, enter your printer model number to find the latest drivers and software,
suitable for your model and from there you can download and install the drivers
for your printer.
6. You can connect your device with printer by two ways, one is wired connection and other one is wireless connection.
Wired Connection
You can connect the printer to your computer by using the USB cable, which
comes with a printer. The computer will automatically detect and install the
printer.
Here first question is raised that how
to connect printer to WiFi?
To connect printer with WiFi, you will see a printer control panel there you
have to select a wireless setup menu.
Then select WiFi setup wizard and follow the on screen instructions to connect
the printer to your WiFi network.
7.
There are different methods for
Window and MAC; we have discussed both the methods.
For Window
For window you have to go to Settings on your computer, then click on a ‘Devices’
and select ‘Printers & Scanners’. Then click ‘Add a Printer or Scanner’ and
select your HP printer from the list.
For MAC
Here in a MAC, Open ‘System Preferences’ and click on a ‘Printers &
Scanners’. Then click the ‘+’ button and choose your HP printer from the
available list.
8. Once the printer is connected
with your computer then print a test page to make sure everything is set up
correctly.
9. Sometimes you are in hurry and
you want to print something instant, in that case you can use Mobile Phone. To
print from a smartphone or tablet, download the HP Smart app from the App Store
(iOS) or Google Play (Android). Open the app and follow the on screen
instructions to add your printer and now you can start printing.
Here your printer setup is completed. If
your printer not working, then try to
restart your printer before printing it.
In the above article we have discussed how to setup HP printer with both devices window and MAC.


