
NAS device is data management device with which you can easily secure your data files like PDF files, App files, photos, and videos. Here you will get to know about how to the setup the Synology NAS in your home via Synology assistant.
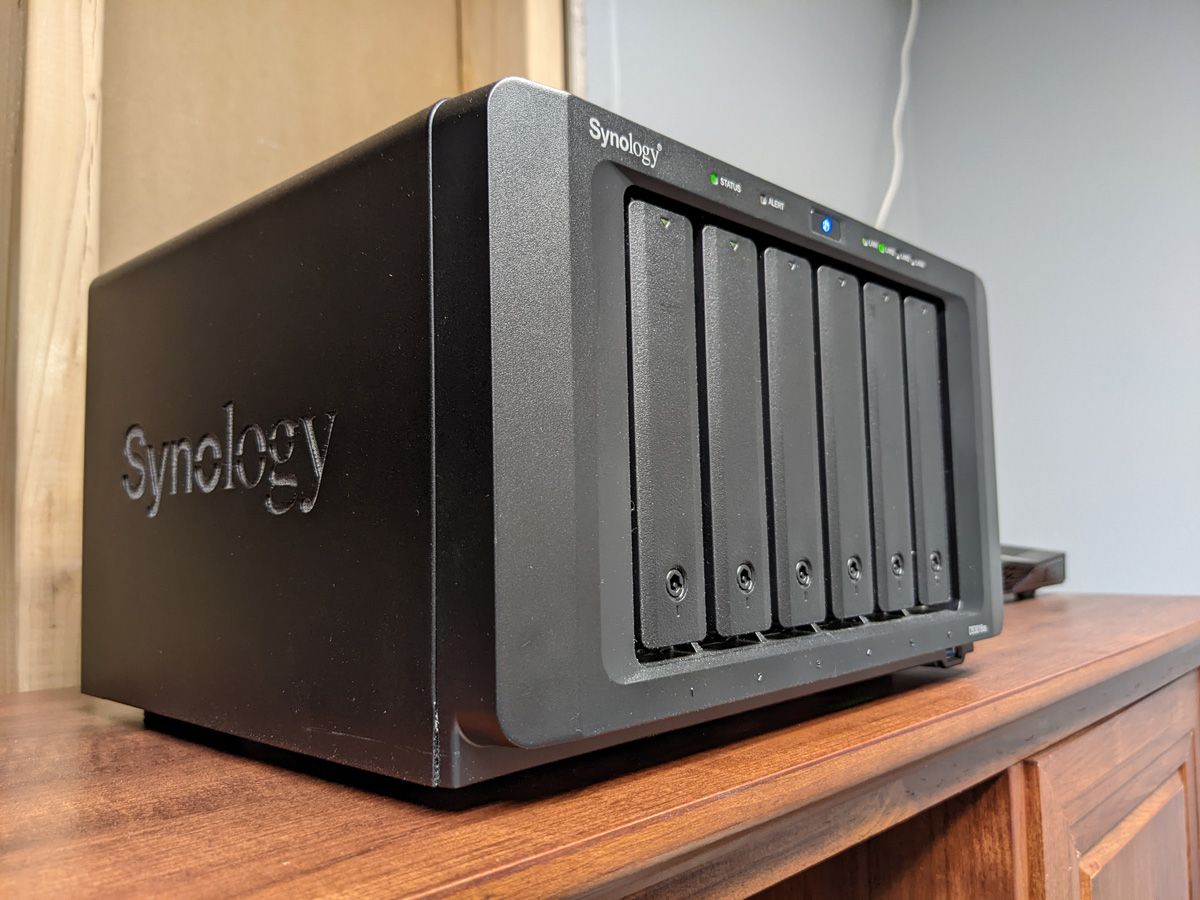
Insert Drives into NAS
There are different parts of Synology that
you have to connect in the main device. You have to connect, Drives, RAM
(memory), Drives plates, and connection with router. Let’s connect the Synology
device first.
1. Place drives in to the NAS Drive trays and place the memory RAMs
chips in to the NAS.
2. Insert the drive trays in the device and then get ready to connect
it to the router.
Connect Synology NAS to Router
There are simple instructions to connect
the Synology
NAS device to the Home router, take a look at some of the instructions;
1. First, you have to place the NAS device near to the router (there
should be power outlet nearby).
2. Connect an Ethernet cable to the router LAN port and connect other
end to the Synology device Ethernet port.
3. Now, it is time to turn the NAS and router on. Connect the NAS
device power cord to the electric wall socket.
Now, you have to connect your computer to
the Synology system with the help of the Synology Assistant Download.
Connect Synology to Computer
To connect the NAS to the computer, you
just have to follow on some of the instructions given below;
1. Connect the computer to NAS device by connecting the computer to the
same WiFi network through LAN cable.
2. Open the update web browser, and search the URL find.synology.com
search it by pressing the Enter button on the keyboard.
3. You will reach to the find Synology interface, where you just have
to scan the area and click on the Connect button.
4. Then, after some minutes, you will connect to the NAS device and can
save you important data files to the Synology cloud.
To manage the data on your NAS device, you
have to download the DiskStation manager, which is easy to install, have a
look;
Download DSM (DiskStation Manager)
1. To download and install the DSM, you have to the access the Find Synology website again on your computer.
2. Connect the Synology NAS and computer. Then, go to the MENU option
and click on the DSM tab.
3. Here, you have to find the latest version and that one, which
supports your computer Windows.
4. Just download the file and install the software in your computer.
Open the DSM.
5. Here, you have to create the Synology account with the help of Email
ID, name and generating password.
6. After that, you can access the DSM and you can manage your data.
Finish
Setup by Checking Everything
Restart Synology NAS
There are two methods to reboot the NAS
device;
1. Find the device power button and press it twice (first press will
turn the device off and second press will turn it on).
2. Unplug the device from the power wall socket and plug it again to
turn it on again or restart it.
Reset If Nothing Works
After resetting the device, you have to set
the device again, now follow some steps to the reset the NAS;
1. Find the Reset button.
2. Press and hold it about 10 seconds.
3. It will be a pinhole so use a sharp object.
The End Lines
Here, you have read
and learned about how to complete the Synology NAS data management device in
your home. You just have to apply and follow some instructions and
troubleshooting tips.


